
I had bought this Yeti XL around a year ago, and after breaking a few parts set it aside. I began tinkering with ideas on making it different than anyone else’s. Well almost everyone’s.
After scanning YouTube for a bit, I ran across a video of a guy doing a custom build that really caught my eye. This guys name is Chris de Graaf. Perhaps you know him better as Hemistormrc. As I waited for the next in series of his project Axial Yeti XXL, I began watching all of his videos.
World’s BIGGEST Axial Yeti XL – Twin Motored 2x6s HemiStorm Yeti XXL
The thing that I liked the most about them is his real interest in teaching people techniques that they can use to up their game. As I watched more of his well produced videos, I became confident that I could do something similar with mine.
I don’t know if YouTube keeps track of IP’s for view count numbers, but I must have watched that first video at least ten times before I got the courage to saw/Dremel my chassis in half. I began by making a BOM for what I knew would be needed, such as extra cage, chassis, shocks etc. Chris points out in his video, you really need to start with extending the cage. Making that the first step allows you to determine the length of your chassis.
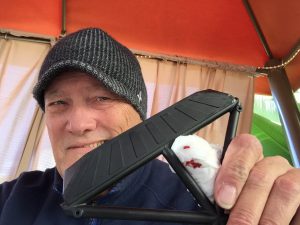
After receiving my first batch of parts for the cage and body panels, I began disassembling the cage. I referred to my notes on what I had seen Chris do, and began hacking away at my cages. Having years of experience in construction and fine woodworking, I know how important the old saying is to “measure twice, cut once”. Well, I took it a step further than that. I measured twice, and watched the video again, pausing to make sure that I wasn’t about to destroy a $60 cage.
 Â Â Â Â
    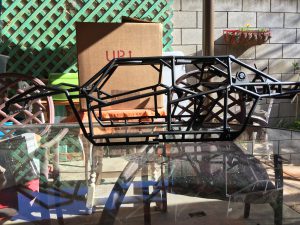
After some blood, sweat and cheers, I was off like a herd of turtles on my cage. Over the next couple of days, and a lot more cutting and sanding, I came up with something that looked very similar to the XXL.
Pretty soon I got into a rhythm, and synced with Chris’s video uploads.
Next up…THE CHASSIS!
 Â Â Â Â
    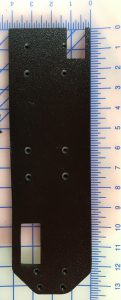
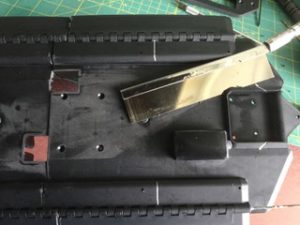
Although I got a smokin deal on these tubs on eBay from JRC, I was sweating bullets because I got the last two listed, and didn’t want to lose either because I have another build in mind. While waiting for more parts to show up, I moved on to wrapping up the body panel hack. I decided to use the old panels until I have settled on a paint scheme. Soon the parts were flowing in, and I was making some real progress. It was time to join the two halves together. Chris being the kind of guy that he is, posted up his design on Inventables. I chose, at least for now, to do it differently. Not because I don’t like his design, no it is because my CNC is currently waiting for me to open up some space in the shop, and secondly, because I’m not 100% certain that our overall dimensions are the same.
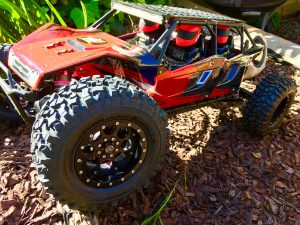 Â Â
  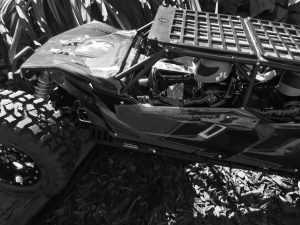  Â
  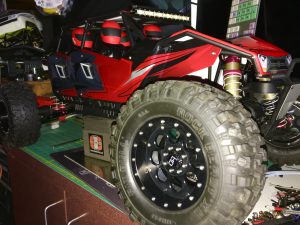  Â
  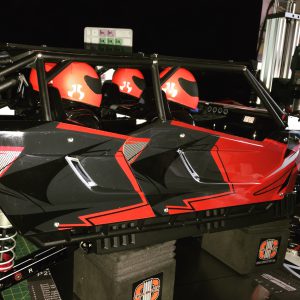
All I have left now, are the final touches before I can take it out for a bashing session, which I will record of course. I’m waiting on some gears and still need to clean up the wiring. Once those are done, I’ll put some more pics up of the final product. In closing, I want thank Chris for all he does for modelers, and for inspiring me to take a chance and challenge myself. I’m proud to call you my friend buddy!
Proost Buddy!


